Installation of Cable Release Adaptor
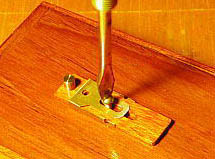
To install the cable release adaptor, you will need a 2.5mmØ drill bit and a screw driver.1. Using the drawing provided with your cable release adapter to drill the first hole. For Zero 2000, Zero 6x9, the distance is 23mm from the center of the pinhole (this distance will be 40mm if you are installing our new cable release adapter for your Zero 612B). Depth of the holes should be 6mm. Don't drill through the front camera pancel!

2. Next, install the wooden shutter and the metal plate spring. Don't over-tighten the screw, making sure that the shutter can move freely.
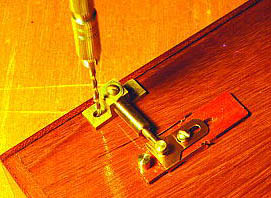
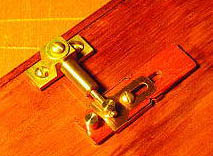
3. Now position the cable release adaptor as shown in the figure below. Using the cable release adaptor as a guide, check the position of the screw hole and drill with a 2.5mmØ drill bit.
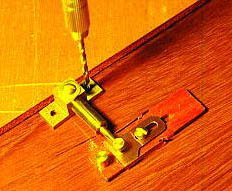
4. Drill the other 2.5mm hole, then drive the screw and attach the adaptor.
5. If the shutter is too tight and cannot move, add one of the provided washers to each hole. (Add two washers or more for each hole if it is still too tight.
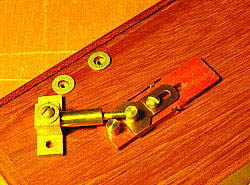
6. If the wooden shutter is not positioned horizontally after the adaptor is installed, remove the screws and adjust the special nut at the end of the movable shank of the adaptor.
Once the alignment is perfect, apply *threadlocker to the thread only so as to fix it. Be careful not to let the glue go into the movable joint or hinge.
*We use threadlocker Loctite 242 (Removable Strength) for production.
7. Apply some oil to the moving parts of the adaptor and shutter.
8. If you are going to install the cable release adaptor to the Zero 45 camera system, please install it as below photo, the distance between the center hole and the shutter screw hole should be 30mm because you will have a new shutter which is longer:
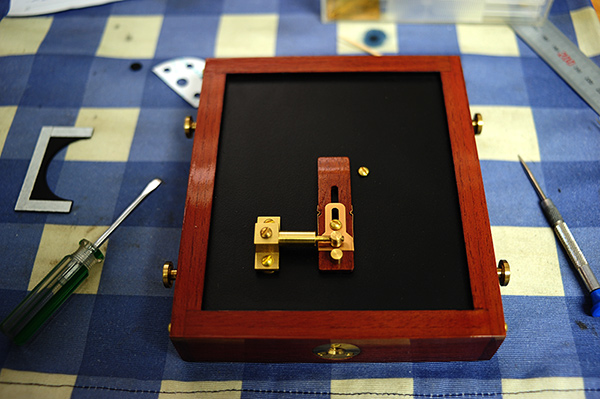
You need to keep the old screws and use them to cover the old hole after remove the old shutter.